
This theme is greatly inspired from hugo academic theme.
First lets introduce some technical details:
The best way to get started is to follow the official zola tutorial.
This theme can be installed as any other theme.
mkdir themes
cd themes & git clone https://github.com/adfaure/kodama-theme
and set in the config.toml the variable theme to kodama-theme.
Tailwindcss is a framework that parses your html files, and generate the minimal CSS required. This theme depends on this framework.
The theme comes with the precompiled style files (static/styles/styles.css). However, if you wish to change the style, or modify the template html, you might need to recompile your styles.
The most simple way, is to follow the installation page of tailwindcss.
At the end, you should have tailwindcss installed, and I advise to use the following tailwind configuration (for tailwindcss v4):
# tailwind.config.js
module.exports = {
  content: ["./templates/**/*.html", "./themes/**/*.html",  "./themes/**/*.html"],
};
Create a file styles/styles.css, and use the following command to generate the final CSS file:
npx tailwindcss -i styles/styles.css -o static/styles/styles.cssor, starting with tailwindcss v4.0, the separate CLI command
npx @tailwindcss/cli -i styles/styles.css -o static/styles/styles.cssThe resulting file static/styles/styles.css is loaded in the html.
Note that, for the moment the generation of the css is not automated. As a result, it is necessary to re-run this command when changes are made with the styling.
This theme use some extra configuration, that can be set in the extra section of your config.toml.
# Title displayed in the index page
title = "Website title"

# Use this theme
theme = "kodama-theme"

[extra]

# Image of your avatar displayed on the landing page
avatar = "static/img/avatar.jpg"
# Image of the favicon
favicon = "static/img/avatar.jpg"

# Your email address showed in the contact section
email = "kodama[at]domain.com"

# If you don't want to show your contact information in the index
contact_in_index = true

# Additional menu items
# `Name` is what it is displayed, `path` is the url
menu_items = [
  { path = "#contacts", name = "Contact" },
]The information needed to build the index page are located in the page front matter of root index file (e.g content/_index.md).
The available configuration options are:
# Insert zola front matter variable such as date etc
[extra]
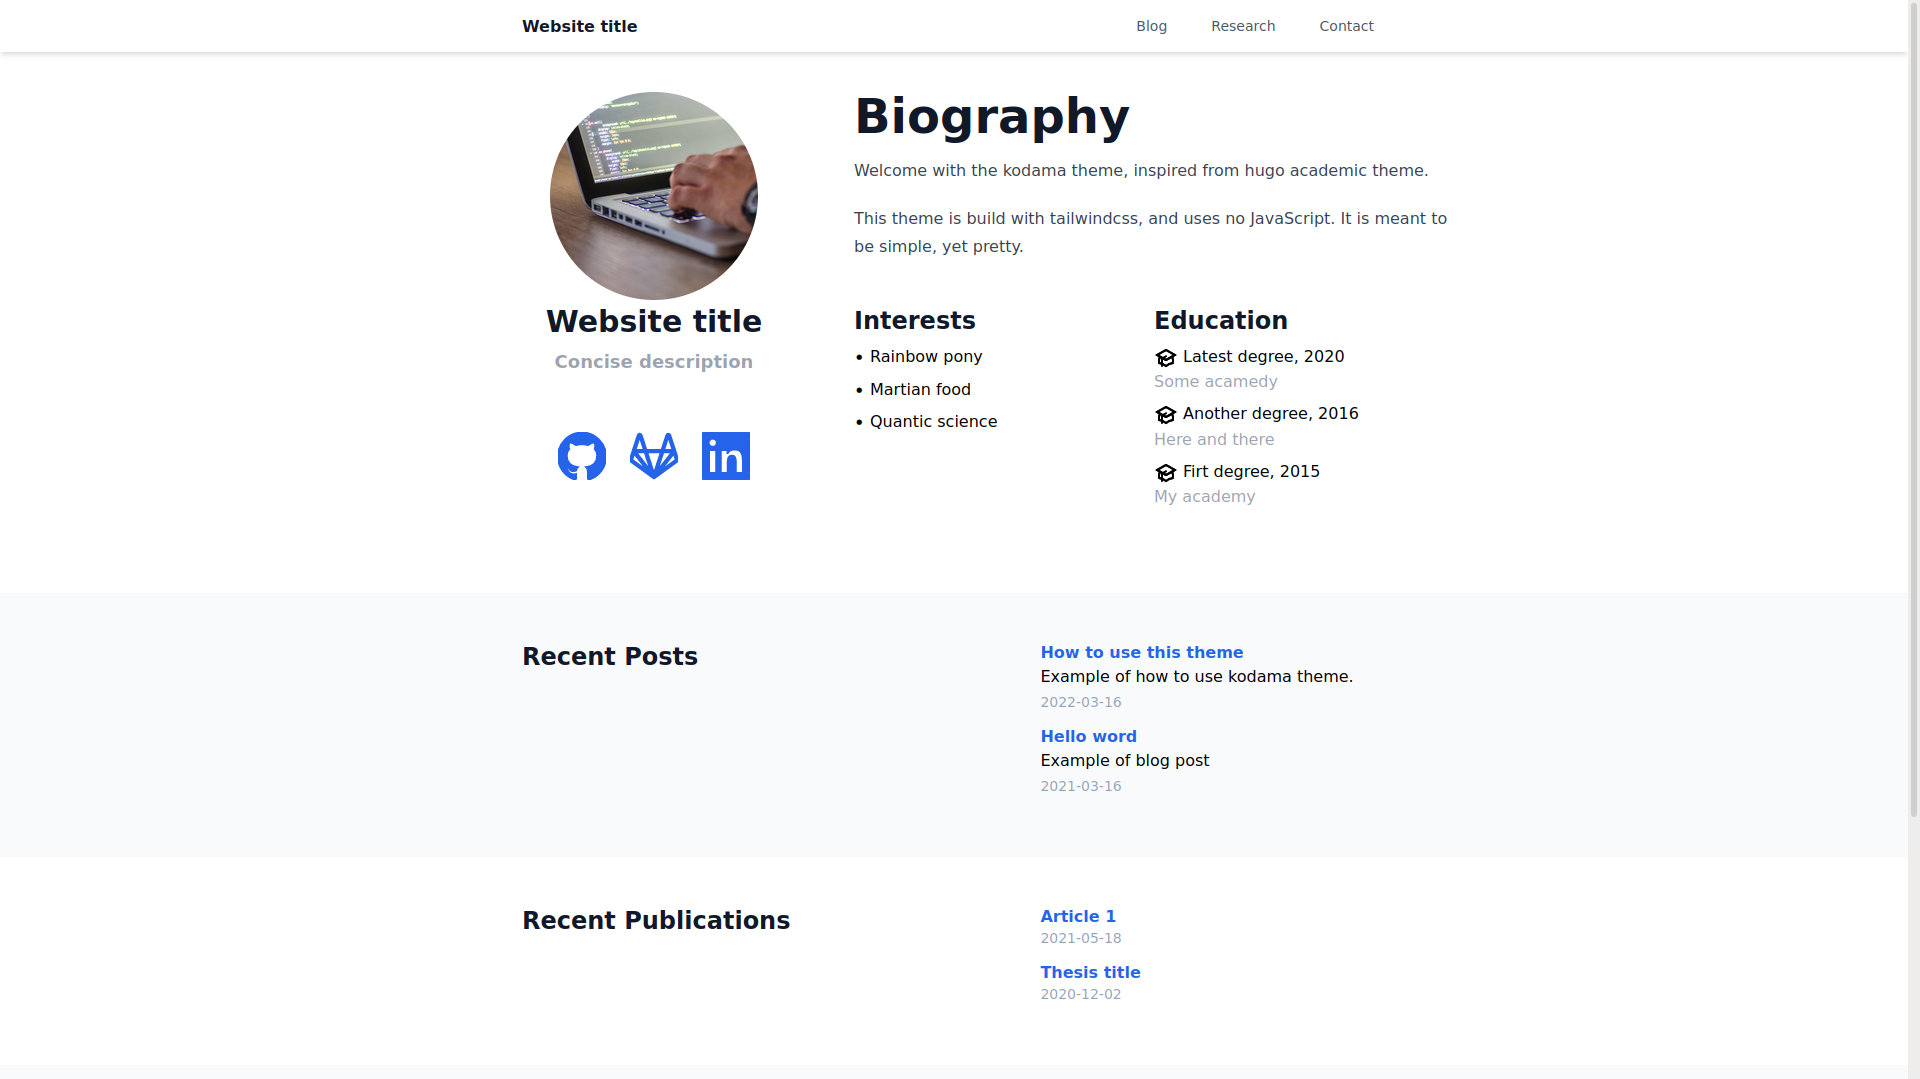
# Show a concise description of what you do below your avatar.
title = "Concise description"
# The list of interests displayed
interests = [
"Rainbow pony",
"Martian food",
"Quantic science"
]
# The list of your degrees / education
[[extra.education.courses]]
course = "Latest degree"
institution = "Some academy"
year = 2020
[[extra.education.courses]]
course = "Another degree"
institution = "Here and there"
year = 2016
# Finally, a list of icons with a link displayed below your avatar
[[extra.avatar_icons]]
icon = "github"
link = "https://github.com/adfaure"
[[extra.avatar_icons]]
icon = "gitlab"
link = "https://gitlab.com/adfaure"
[[extra.avatar_icons]]
icon = "linkedin"
link = "https://www.linkedin.com/in/adrien-faure-9958978b/"The predefined contact page can be use. The front matter extra part should contains a list of the link to show in the contacts.
The section available in your website are automatically detected and displayed in the nav bar at the top of the page.
To prevent a section to be displayed in the nav bar, you can set the extra front matter option extra.hidden_nav = false to false.
The section are sorted by weight defined in the front matter of the section.
By default, the sections (i.e folders under content/section_name) have a summary showed in the index.
This is configurable in the front matter of the section (e.g content/section_name/_index.md).
# The name displayed in the section summary
extra.index_title = "Recent Posts"
# Set to false to remove the section from the index
extra.index_show = trueThe section blog is the most standard section. It show a list of article with things that you want to share in your website.
To use the blog template, configure the section with the following front matter:
template = "section.html"
page_template = "blog-page.html"The section publication is very similar to the blog section however it is dedicated to show your list of scientific articles.
The articles are showed in two subcategories: Thesis and Conference / Workshop.
To configure a publication section (e.g content/research) and set the following content:
+++
title = "Research"
sort_by = "date"

# Here the two dedicated templates
template = "publications.html"
page_template = "publication-page.html"

# If you want to show your publications under different sections
# the title will be the displayed text in your website, and the type
# should be the type of publication.
# Each individual plublication has an `extra.type` that refers to the
# publication type (example in content sub-section).
extra.publications_types = [
  { title = "Journal articles", type = "journals" },
  { title = "Thesis", type = "thesis" },
  { title = "Conferences and workshops ", type = "conferences" }
]
+++

## Content

Any content will be displayed on top of the section.
Article are referenced in subdirectories of this section.
tree content/research
content/research
├── _index.md
├── paper1
│   ├── bib
│   └── index.md
└── thesis
    ├── bib
    ├── index.md
    ├── thesis.pdf
    └── thesis_slides.pdf
The bib files are automatically loaded to get information from it. However, it is also possible to add information in the front matter of the article markdown file.
+++
title = "Article 1"
date = 2021-05-18

[extra]
type = "Conference"
authors = [ "Kodama Mononoke" ]

# Should be the type of the publication type it should appears under
# configured in the front matter of publications/_index.md
type = "conferences"

featured = true
publication = "2020 IEE rainbow workshop"
# Add full url for your pdf and your presentation
url_pdf = "https://your-pdf"
url_slides = "path_to_slides"

# Add a link to a local pdf inside of your paper folder (example in content/publications/paper1.index.md)
pdf = "paper.pdf"
slides = "path_to_slides.pdf"
+++In some cases, it is needed to add extra javascript or css files to be loaded by the web browsers.
The base template of this theme define an empty block named user_head.
To use this block, you can just create a new template name templates/base.html with the following content:
{%/* extends "kodama-theme/templates/base.html" */%}

{%/* block user_head */%}
  <script>
    console.log("hello world!");
  </script>
{%/* endblock user_head */%}The icons available in this project are stored in a dedicated macro function in templates/macros/icons.html.
To add a new svg, you can add a case in the if elif .. else of the function containing the svg copied from heroicons for instance.