Zplit is a single-page, centrally-divided layout designed for a professional online presence. It features a large image or video on the left, accompanied by content on the right. Zplit is a port of Split by One Page Love for Zola.
DEMO: https://zplit.netlify.app/
Download the theme to your themes directory:
$ cd themes
$ git clone https://github.com/gicrisf/zplit.git
Then, enable the theme editing your config.toml:
theme = "zplit"The most important file of the theme is located in the root directory and is named =config.toml=. Edit this file to customize your preferences. Look for sections like [extra] to set variables like author, or [extra.content] to modify intro_tagline.
If something is unclear or not obvious, you might have missed the "configuration" section of the Zola official documentation. Even if you're new to static site generators, don't worry and take some time to go through the documentation, as it covers fundamental concepts.
Here after, we will discuss two specific sections in more detail, because those are unique for the Zplit theme:
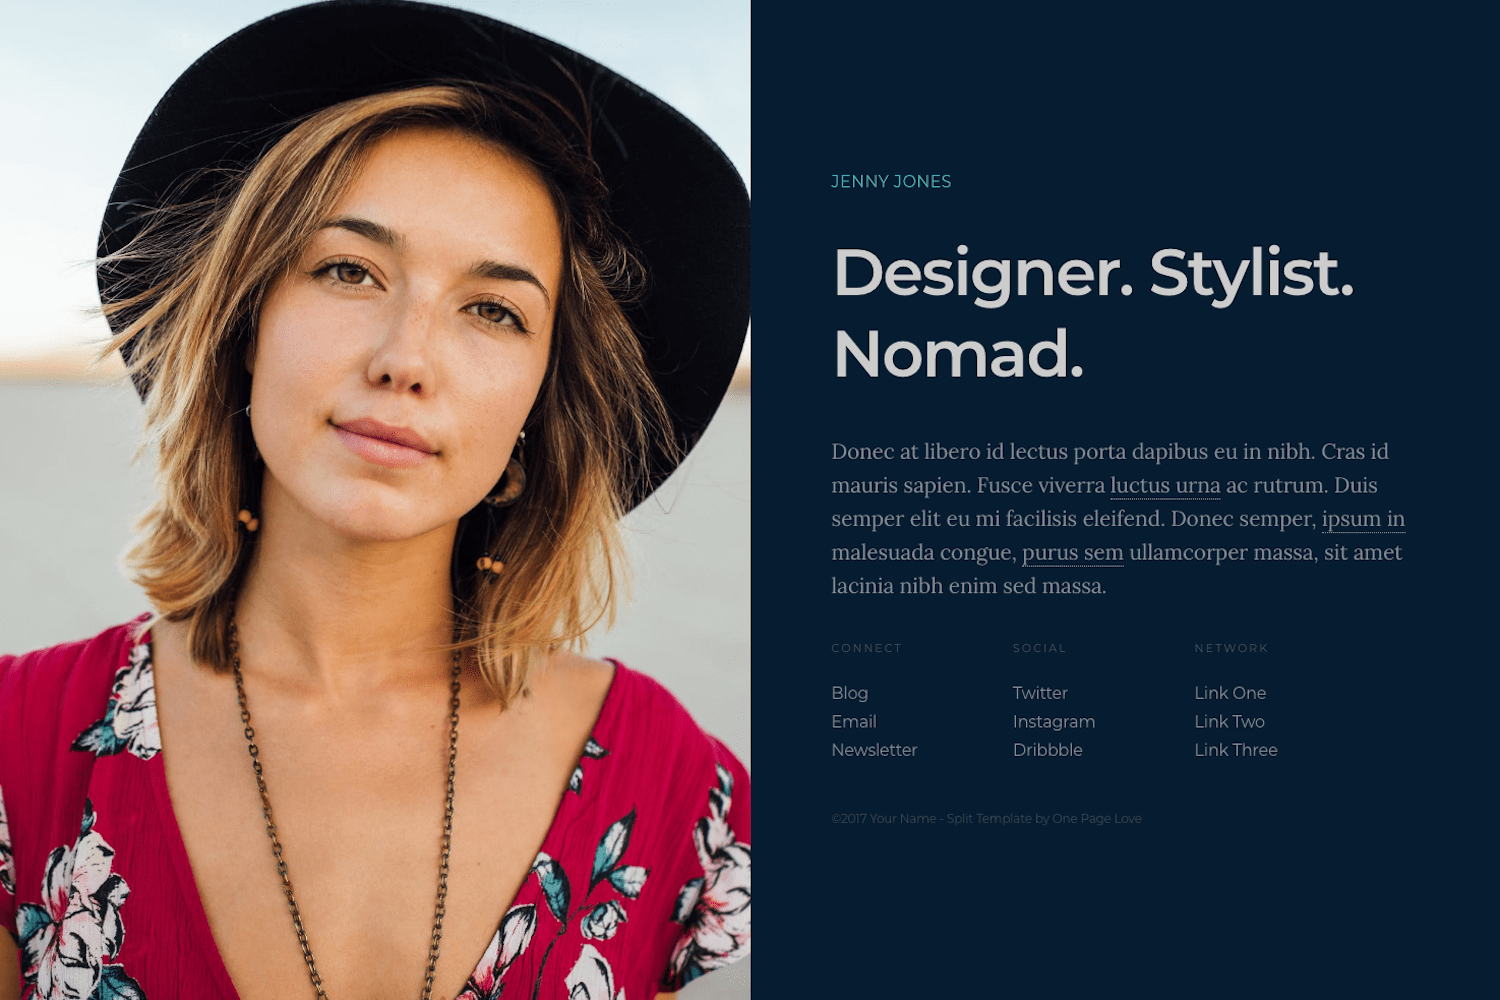
Edit the [extra.visual] section to set your background image of choice.
[extra.visual]

background = "<your-image-file-path-goes-here>"
You can find this example already written as the default:
[extra.visual]

background = "images/background.jpg"
position = "center center"
As you can see, you can edit the relative position of the image, which is centered by default.
You can set up to 3 lists of links in the [extra.lists] section of the config.toml file:
Manipulating them is very easy: just add/remove elements in the TOML list, as showed in this example (also already present in the default file):
social = [
    {url = "https://t.me/zwitterio", text = "Telegram"},
    {url = "https://twitter.com/gicrisf", text = "Twitter"},
    {url = "https://github.com/gicrisf", text = "Github"},
]
Do you want another item? Just throw it up to the pile. You have no limits.
Remember to set the url field with the link itself you want to direct your user at and a text to show in the page for the corrisponding URL.
To add new posts, simply place markdown files in the content directory. In order to sort the post index by date, you need to enable the sort_by option in the content/_index.md file within the index section.
sort_by = "date"This theme was not specifically designed for blogging, but rather as a landing page for professionals. However, if you wish to blog using this theme, you certainly can. To do so, simply add a new section in the content directory and include it in the main menu through the config file. This will make it readily accessible to the user.
The theme does not offer support for taxonomies or other advanced features. It is focused on providing simple pages. If you wish to enhance the blogging functionality, you are welcome to customize the code or submit a specific request as an issue.
To make custom changes to the original stylesheets, you can create a custom.css file in the static directory. In this file, you can add any modifications or additions you desire.
If you need to make adjustments to the colors or grid dimensions, it may be easier to modify the frontmatter of the _01-content.scss file directly. In this file, you will find variables conveniently located at the top:
//-------------------------------------------------------------------------------
// Variables
//-------------------------------------------------------------------------------

// Colors
$color-background : #061C30;
$color-text       : #848d96;
$color-link       : #848d96;
$color-link-hover : #CA486d;
$color-maverick   : #47bec7;
$color-tagline    : #CCCCCC;

// Breakpoints
$bp-smallish      : 1200px;
$bp-tablet        : 800px;
$bp-mobile : 500px;Do you love Zplit? Did you find it enjoyable and useful? If so, consider showing your support by making a donation. Your contribution will help fund the development of new features and improvements for this theme.

The original template is released under the Creative Commons Attribution 3.0 License. Please keep the original attribution link when using for your own project. If you'd like to use the template without the attribution, you can check out the license option via the template author's website.